


25 Aug Chapter Four – Developing the Garden at “The Berkshires”
Continuing on with the story (from last month’s issue)
The Design Concept
After completing the site analysis (as discussed in last month’s blog post –link) and really getting to know the site we sited drawing up rough concepts of the proposed design. My Father and I walked the hillside every few weeks discussing ideas, marking out overall shapes of the beds with star pickets, baling twine and garden hoses. We measured areas out trying to proportion out areas for lawn, garden and pathways. The number of countless concepts we drew up over a twelve month period was quite unbelievable. When it came to designing my own garden it was very hard to make a decision. Their were lots of very rough sketches on paper that to anyone one else would have looked like scribble. We gave ourselves the year to really see the garden in every season.
The concept developed from where the house was located. This had been built in a level area almost centred to the entire garden area. There is a sloping bank behind the house heading up the hill and in front of the house a sloping bank heading down the hill. I had to think about the possibility of terracing, levelling the areas, introducing paths, steps etc. I knew we needed to maintain the existing trees and not risk losing any of them.
The first element I worked out was the location for where the pathways would be situated. This would be how I wanted people to access the garden – I did this for the whole site, so I knew how I wanted to divide the area up and also where we needed to construct retaining walls. The areas that remained would become the outlines for where the garden areas would be located. This is how all my garden designs develop. Firstly the practical aspects such as pathways are allocated a space, then the shapes of the garden beds are designed and lastly I consider the plant species.
The first lines I drew on the concept plan were the main pathways that run as centred lines from the front and back of the house. These main pathways became the main axis lines of the garden.
Front Garden
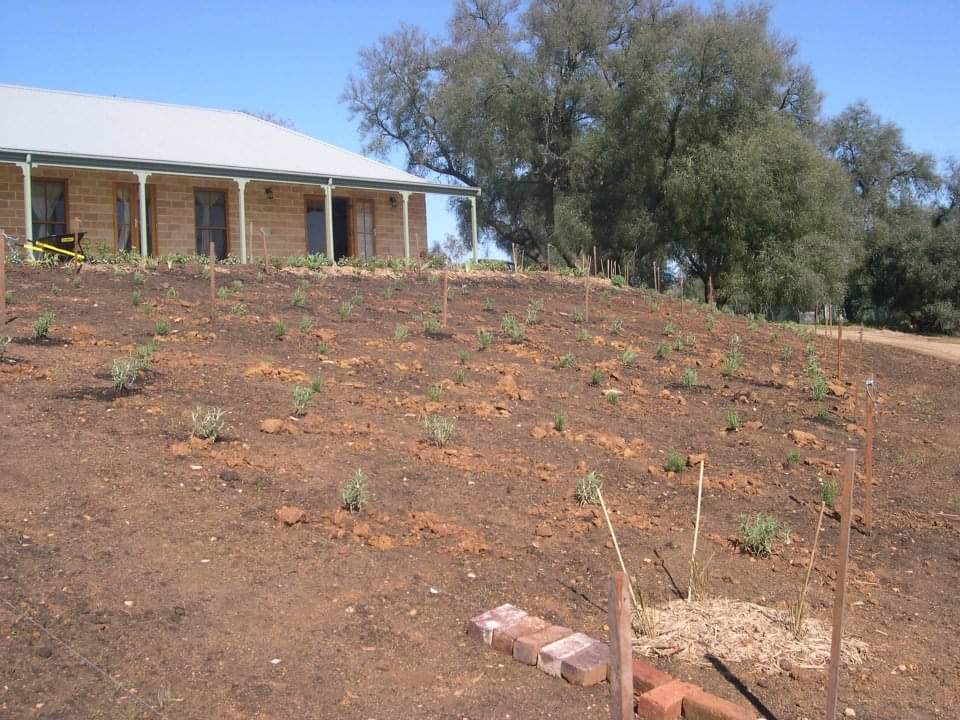
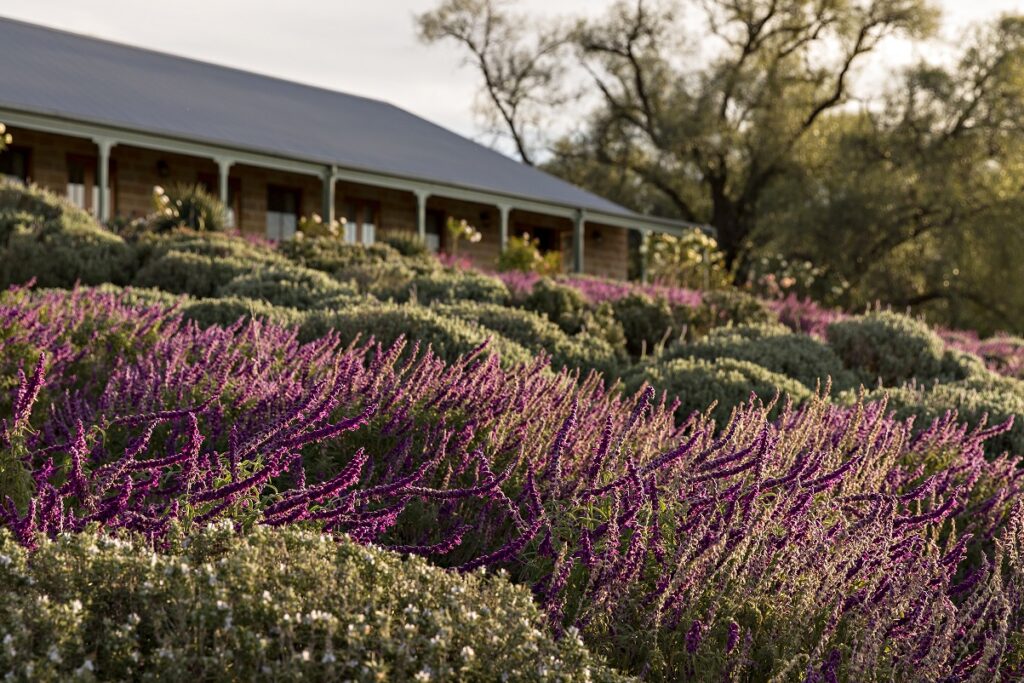
I designed the front garden pathway to line up with the front door of the house. This pathway would direct people out of the front door, across the lawn and then down the slope. I knew we wanted an open level area to surround the house, this would be grass. I decided I wanted to run a garden bed around the perimeter of the house to highlight the overall shape of the house and to anchor it to the hillside. The level lawn area gives an open spot for children to play. Along this lawn area I wanted to have a semi formal looking planting similar to a long border seen in traditional English Gardens. This was the location for me to plant out a variety of my “dream” plants, all the ones that I was not able to grow in my previous garden in Sydney. I wanted to plant out a traditional English style cottage garden with a contemporary twist. It is a north facing bed that would be 50 metres in length.
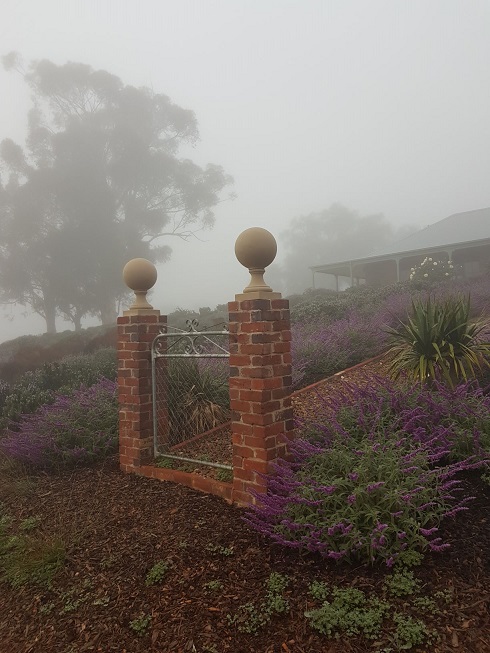
Below this border garden the land falls away to an even down hill slope. This area was always going to remain on a slope. It is very well draining, hot and exposed spot. I knew I didn’t want the planting through this area to rely heavily on irrigation. Overall the planting would need to be very tough. This sloping area is divided by the centred pathway/axis. There is a gateway entrance to the garden at the bottom of the slope which is visible from all over the slope. It is a feature of the front garden.
Rear Garden
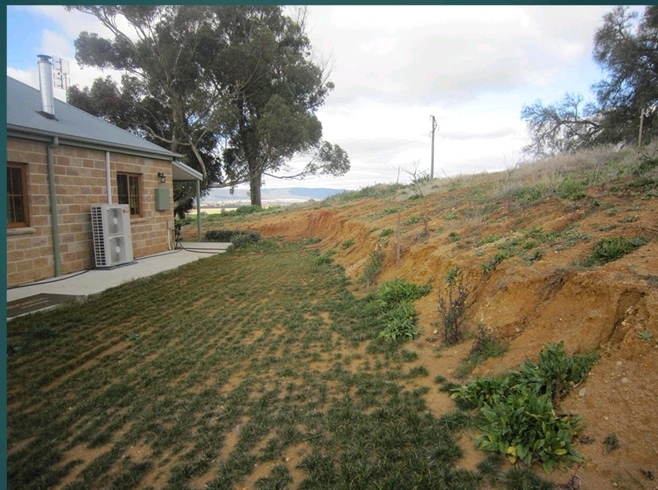
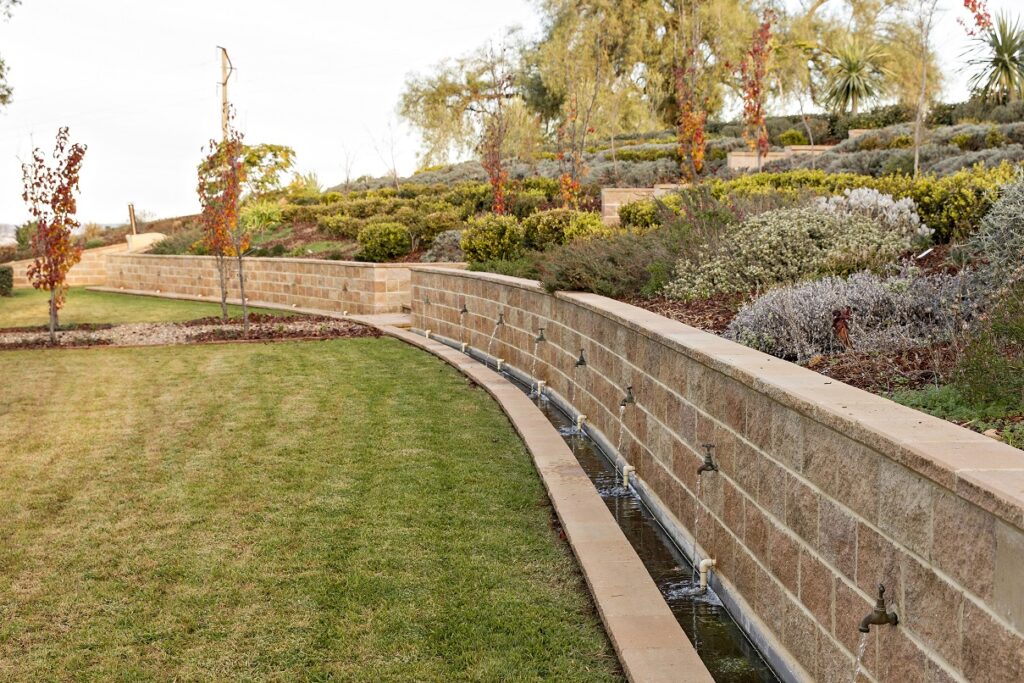
The rear of the house backs on to a steep hillside, the builder had carved out a narrow area to give space between the rear of the house and the higher hillside. I knew we had to be able to get from the level of the house up to the very back section of the garden. Deciding how to direct people through this slope was a very difficult decision and became the focus of many conversations between myself and my parents. I decided to create the central pathway from the rear door of the house up the slope. This became the location for the set of steps. I then had to work out how to retain this slope and give open garden bed areas. I decided we didn’t want a really high wall and we didn’t want it to sit directly parallel with the house as this would look quite harsh and it would have also involved a lot of cut and fill earthworks. I decided to do a curved wall that wraps around each end of the house. I selected the same reconstituted sandstone blocks that the house had been built in to construct the wall so that there was a cohesiveness to the design. However this is not just a retaining wall we added another feature.
To add more interest I designed a curved narrow pond which sits at the base of the wall and follows the curve. Then I have added 15 brass taps which are installed in the wall as water spouts. These taps are taps I have collected over many years from job sites where they were going to be thrown out. This area functions as a water feature which adds more interest to the area.
Stay tuned for next month when we will discuss the plant selection for the main garden areas.