31 May News From The Cutting Garden For Winter
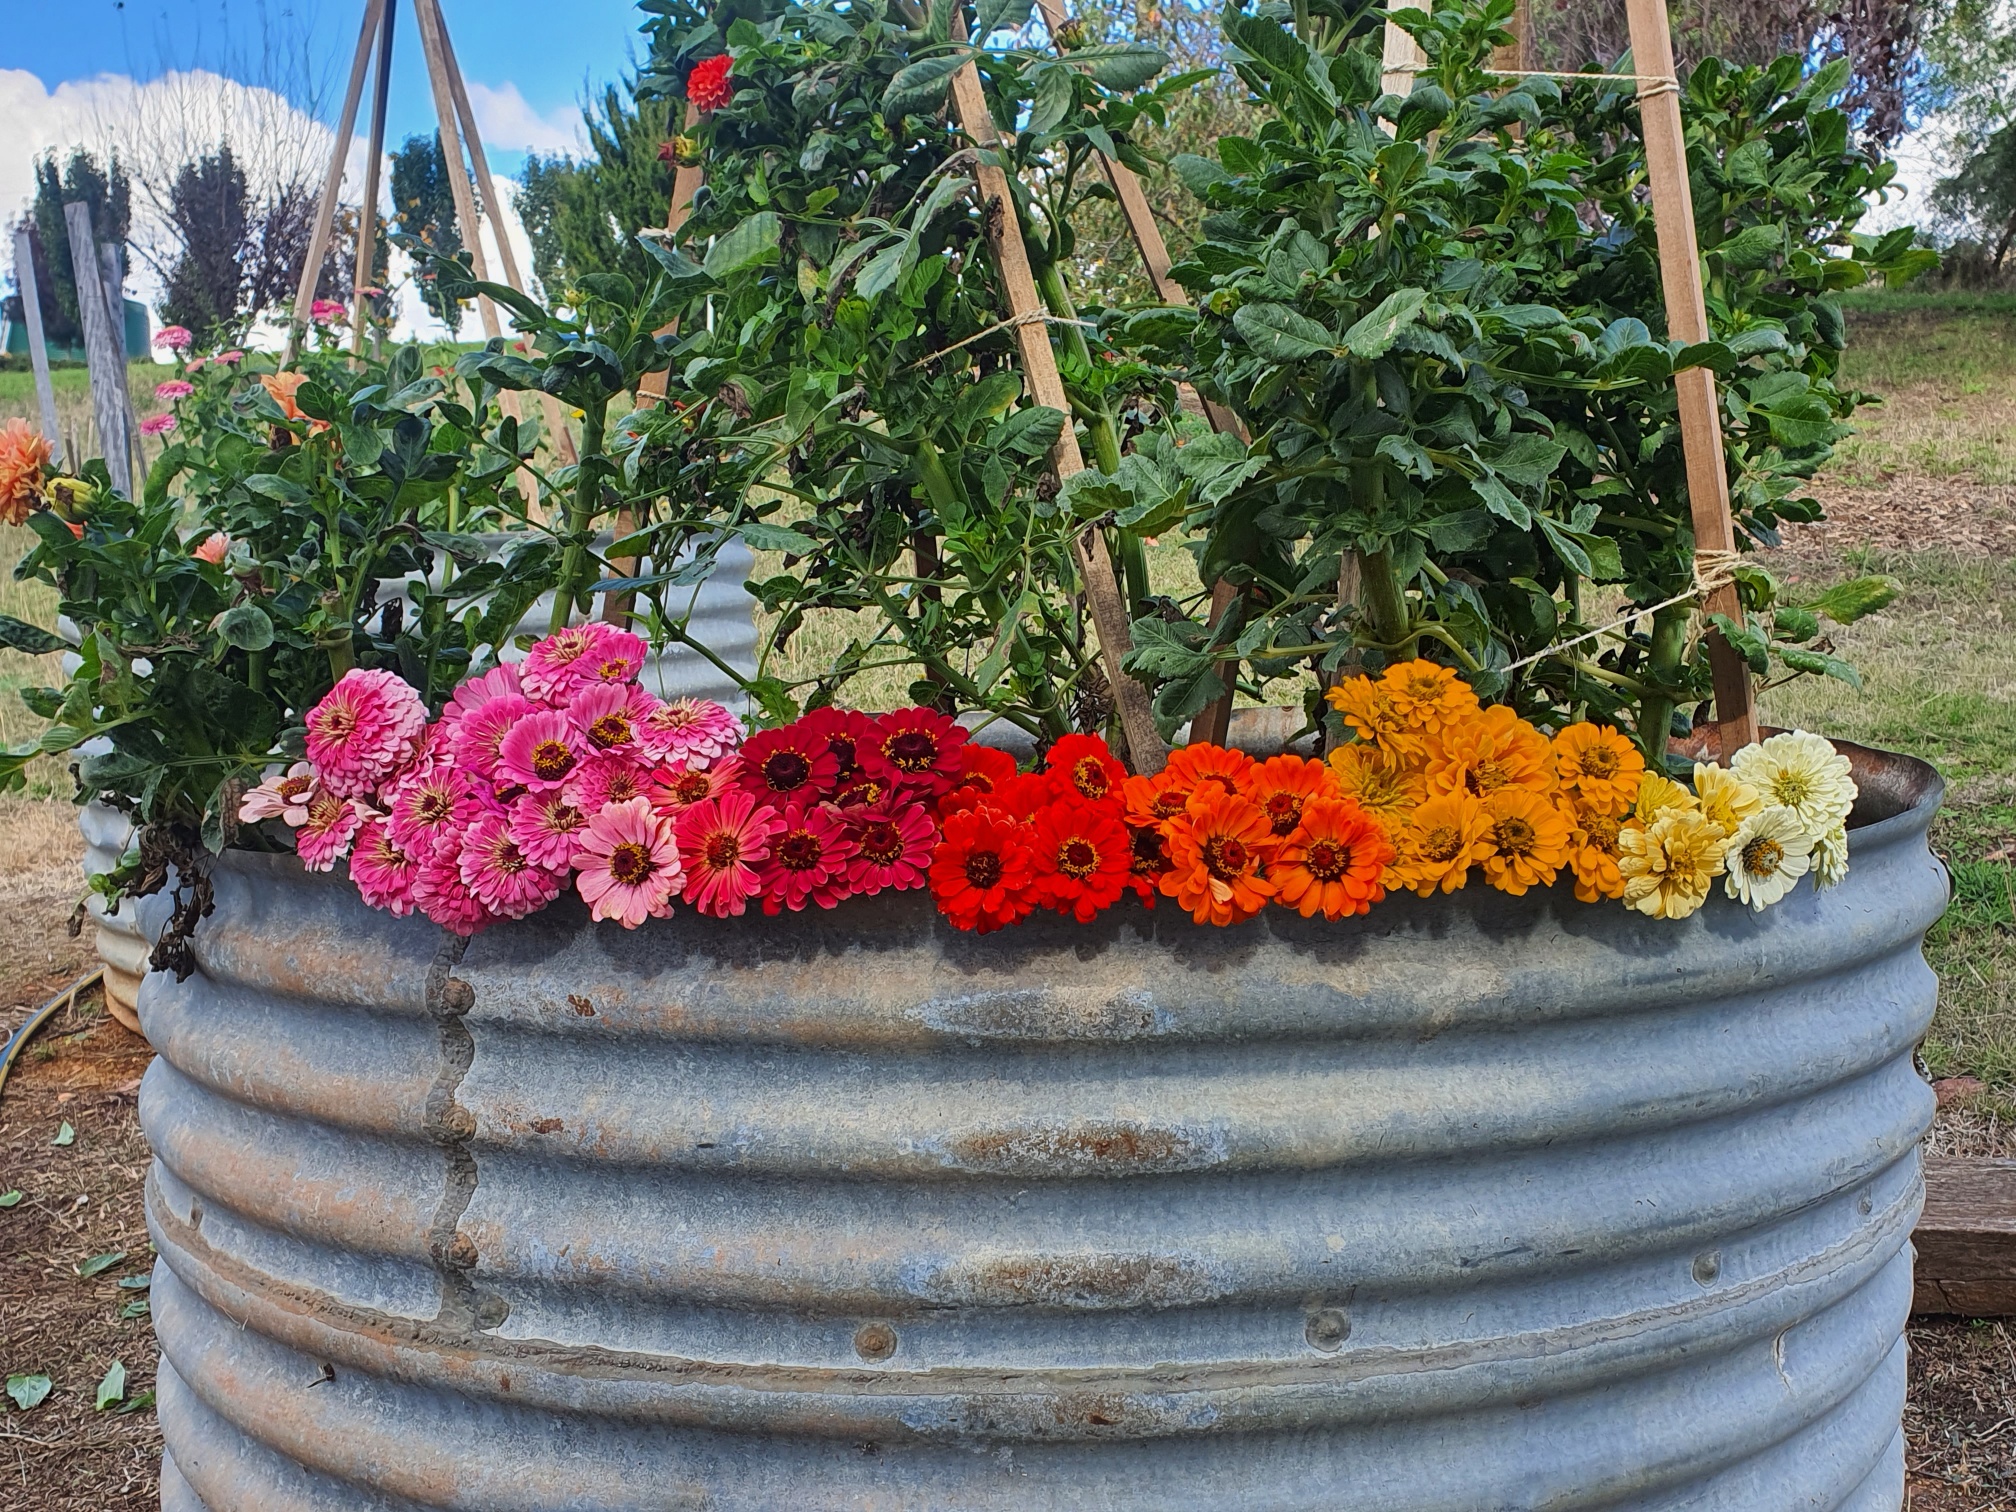
I spent last weekend pulling out all of the Dahlias and Zinnias plants. The cooler weather definitely finished off their flowering and all of their foliage was starting to get a bit daggy looking so it was time to move to the next season of flowers. The Zinnias were easy to remove I just picked all of the remaining blooms for my last bunch of the season then I cut their stems back to ground level. I left their roots in the ground to decay away and add more organic matter to the soil. The dahlias on the other hand were a little more involved. The tubers can be left in the ground especially if you have very well draining soil however if you don’t have well draining soil or we get an extremely wet or cold winter then they may rot. I did not want to risk that so I decided to start the process of lifting, storing and dividing my Dahlias. Here are the steps I followed;
Step 1 – Get all of your equipment together – you will need secateurs, a spade, garden fork, some form of labelling (I used different coloured ribbons – you could use plastic flagging tape or plant zip ties that you can write on) , buckets or crates to store them in (these need to be well ventilated) and a few bags of saw dust or vermiculite if you want to cover them in a growing media for the winter.
Step 2 – Cut down the foliage of the Dahlia to about 100mm above ground level. You would normally do this after a frost or around the end of Autumn.
Step 3 – Mark an outline around the main stem. Use your spade to dig a radius out around the main dahlia stem – for ours I aimed for about 300mm radius from the stem.


Step 4 – Lifting – Slowly and carefully start lifting the soil up around this radius. The tubers may have spread out in any direction. Once you have dug out a circle dig down to a 200 – 300 mm depth and start to lift up the clump of tubers.
Step 5 – Labelling – You can either tie the tape or ribbon around the main stem or you could label the crate that it will be stored in
Step 6 – Wash all soil off the Dahlias – Turn them upside down to drain- Leave to dry in a sunny location
Step 7 – Inspect Dahlias – remove any shriveled or damaged tubers from the clump. If you don’t remove them now they are much like apples once one goes off in the batch the rest will follow
Step 8- Storage – Place Dahlias into a well ventilated crate or tray. I’m using old nursery trays that only have a mesh bottom. Some experts recommend covering the Dahlias with saw dust or vermiculite to prevent them from drying out. The main aim is that they don’t dry out or get too wet. You could try just storing them with nothing around them. I’m keeping ours undercover with good ventilation. I will check them regularly to make sure they are not rotting, drying out or being eaten by rodents.
They will stay here until I plant them out which will be just after the last expected frost in spring. Before I plant them out I will divide the Tuber up and separate them into individual tubers each with its own eye (growing tip). This year I will be purchasing a few more new varieties too so stay tuned and I will give you a list of recommended growers to buy from. I do have a highlights reel of Dahlias growing on my Instagram page if you would like more information.


